I started baking bread after being inspired by Paul Hollywood. Paul is a very old school, knead it by hand until your hands are aching kind of guy. It can be, frankly, a pain in the butt. As I read more about baking on reddit and other websites, I started seeing people talking reverently about ‘FWSY’ and no-knead bread. The ubiquitous ‘FWSY’ turns out to be shorthand for ‘Flour, Water, Salt, Yeast’, a book by Ken Forkish, owner of Ken’s Artisan Bakery in Portland, which has become sort of the new testament of bread baking for a lot of people.
Ken’s technique centers around a few concepts that differ from a lot of traditional methods. First, it uses a very small amount of yeast. Instead of spending a long time kneading the dough you only fold it just enough to mix the ingredients fully. The proofing times are very long, these are not breads you make in one day. Lastly, the loaves are cooked at high temperature, and in a dutch oven that is fully preheated.
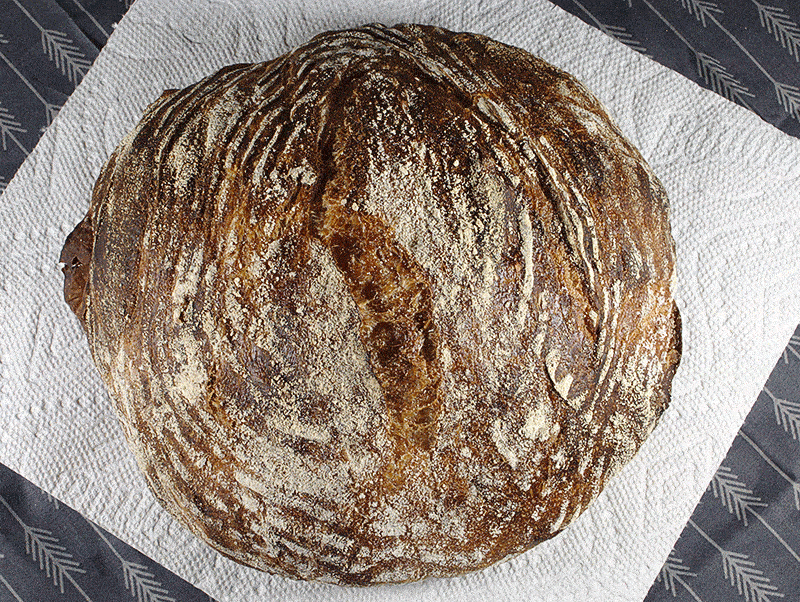
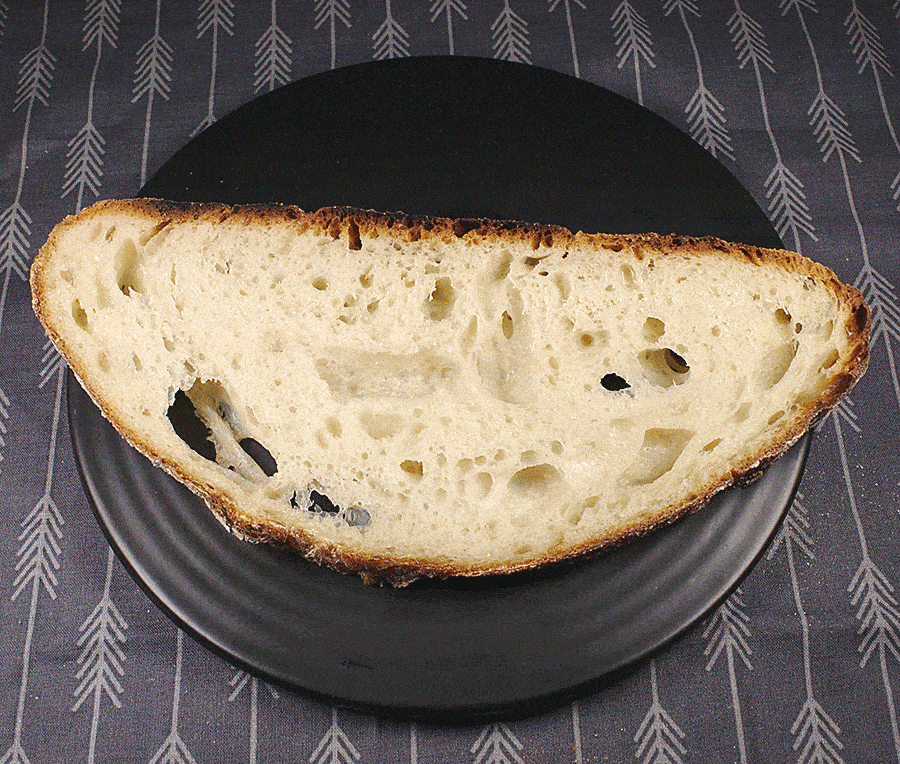
Well.. It works. It’s time consuming, but really amazingly simple and easy. The results are always great, even when I manage to screw it up somehow, the worse that happens is I get a really ugly but tasty and crusty loaf.
Overnight White
Ingredients
- 1000 g Bread Flour
- 780 g Water Lukewarm (90-95F)
- 22 g Fine Sea Salt
- 1/4 tsp Yeast
Instructions
- Combine the flour and the water in a big tub and mix to incorporate. Let it sit for about 30 minutes.
- Sprinkle the salt and the yeast over the top (but don’t let the yeast and the salt touch directly). Mix it all together with some folds initially, then with the pincer method.
- Let it rest for about an hour, then fold two or three more times. Cover and let proof overnight 11-13 hours more (12-14 total). Dough should be at least 2x and up to 3x as large.
- Tip the dough out onto a floured surface. Cut it into two equal parts. Form each part into a nice ball.
- Dust and/or oil two proofing baskets or bowls. Place one dough ball in each basket.
- Cover the bowls with a towel and proof the loaves for another hour and fifteen minutes.
- 45 minutes before the loaves are done proofing, preheat an oven to 475 degrees, with 2 dutch ovens inside (if you only have 1 it’s ok, see note later..).
- When proofing is done, carefully remove the hot dutch ovens, place a loaf in each, cover, and put them back in the oven. Let cook for 35 minutes covered.
- After 35 minutes, remove the tops and cook uncovered for another 15 minutes. Very, very, very, carefully tip the loaves out of the dutch ovens and let cool for at least 20 minutes.
- NOTE: If you only have 1 dutch oven, put the second loaf in the fridge while the first cooks. When the first loaf is done, let the dutch oven reheat for 5 minutes in the oven, and cook the second loaf, as above.
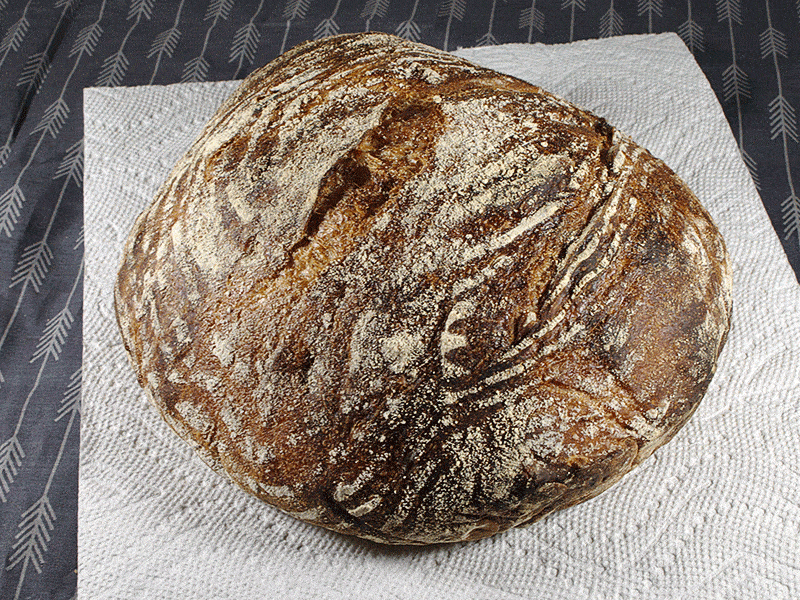
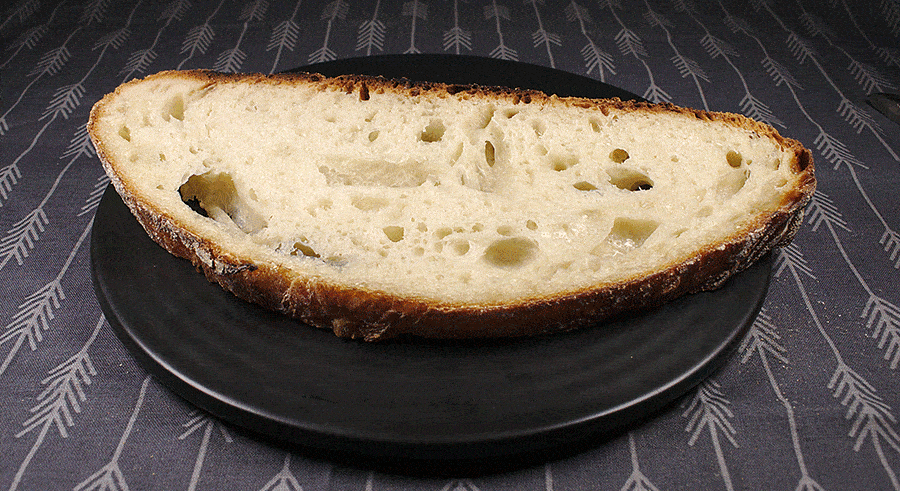
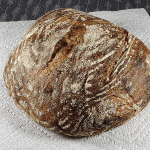
Thought i’d give you a shout out, your entry of this recipe in your blog has been my go to bread for the past 2 weeks. i’ve made this recipe 4 times, and the last two i’ve deviated a little and making personal changes to see how the recipe and bread behaves. thanks for your time putting this together. it’s also easy to read and pretty straight to the point which i appreciate.
I left home with flour but forgot my sourdough starter and someone recommended this recipe, since I did have dried yeast. It turned out absolutely great. I did lower the salt to 2%, but the bread turned out very slightly under salted. I will use the full 2.2% next time. I did score my loaf before putting it in the Dutch oven. Wonderful open crumb and super crusty crust!
Glad it worked for you!
Do I let this rise overnight in fridge or counter? New to making Overnight bread. Thanks.
Counter is fine! The only time I put it in the fridge is the second formed loaf, while baking the first. That’s just because my oven can’t fit 2 dutch ovens to bake both at once.
Can you please explain more fully what you mean by ‘with some folds initially, then with the pincer method.’ What kind of folds do you do and what is the pincer method?
Many thanks for the recipe.
Basically, I dump the dough out on the counter, grab one side of it and pull a little (but not enough to tear it) and fold it over itself. If it was a sheet of paper you’d basically be folding it in half. I then give it about a quarter turn, and do it again. I do this about 3 or 4 times in total. “The pincer method” is basically starting with an open hand on top of the dough, and bringing your thumb and pointer finger together, through the dough, cutting it. You do this several times. This action helps to incorporate things like salt or anything else into the dough.
This recipe is from the book “Flour Water Salt Yeast” by Ken Forkish. It is very good bread though.
Interesting, you changed up the FWSY recipe and used bread flour instead of AP flour. Any particular reason why? I usually follow Ken Forkish’s recipe to the T, but am thinking of changing up the flour.
Honestly, I’ve done it both ways many times and I’m not convinced I see much of a difference. It often just has to do with which flour I have more of on hand at the time.
Do you proof your dry yeast? I wasn’t sure if it’s necessary with this method, but I’m nervous, I’ve had recipes flop when I don’t proof my active dry yeast first 😬
Nope, I do not. Just sprinkle it in and mix. I think the autolyse at the start helps not need it. You are making me curious to try now though.
Thanks so much for posting this recipe. I’ve made it so many times.
I’ve got some doing it’s final proof now actually. I used beet juice for some of the water. Just for fun. So far it has t seemed to inhibit anything.
That sounds fun! Was the final product red/pink?
Pingback: Thanksgiving Bakes - Baked And Churned
Pingback: Easter Bakes - Baked And Churned