I finally baked my first sourdough. A sourdough starter is basically a pet. People keep them alive for years, or generations. There is a starter that was brought cross country on the Oregon trail in the 1800s that a group of people are still keeping alive today. At the famous Boudin bakery in San Francisco their starter has been around since 1849, and survived the 1906 “Great Earthquake”. So yeah, starters can be pretty serious business. My wife and I already have three fur babies, so another pet is a commitment. I finally took the plunge two weeks ago. Following the King Arthur Flour recipe and care instructions, I established a starter. I have dubbed him Ziggy Stardough. He lives in a glass jar on the kitchen counter for now, but I’m still figuring out the details of long term accommodations.
This weekend I decided the starter was good and established enough to bake my first loaf. I followed the recipe from Brooklyn Sourdough, who’s Instagram you should follow if you don’t already. She does amazing scoring work and produces beautiful loaves.
No Knead Sourdough
Ingredients
- 80 g Whole Wheat Flour
- 320 g Bread Flour
- 272 ml Water
- 240 g Starter
- 8 g Salt
Instructions
Day 1
- Autolyse. Combine all the flours and the water, mix, and let stand covered at least 30 minutes.
- Mix the starter into the flour and water mixture, and let sit another 30 minutes. (you probably wan’t to feed / replenish your starter after taking the 240 grams)
- Sprinkle the salt on top and fold and pincer it in. Let set, covered, for 1 hour.
- Perform 3 stretch and folds of the dough, 1 ever 30 minutes, for 90 minutes. Let sit another 30 minutes when done.
- Flour (with rice flour or something low in gluten) a banneton. Place the loaf in the banneton. Leave to rise in the fridge, covered, for 12-20 hours. (I just baked when convenient the next day, which was about 17 hours)
Day 2 (Baking)
- Place a dutch oven in the oven and preheat to 500F.
- Turn the dough out onto parchment paper that you have sprayed with some water.
- Score the loaf as you’d like, if you’d like.
- Using the parchment to lift the dough, carefully place it in the preheated dutch oven.
- Lower the oven to 450F and bake, covered, for 30 minutes.
- Remove lid and cook another 15 minutes.
- Carefully remove from the dutch oven, discard the paper, and let cool as long as you can stand.
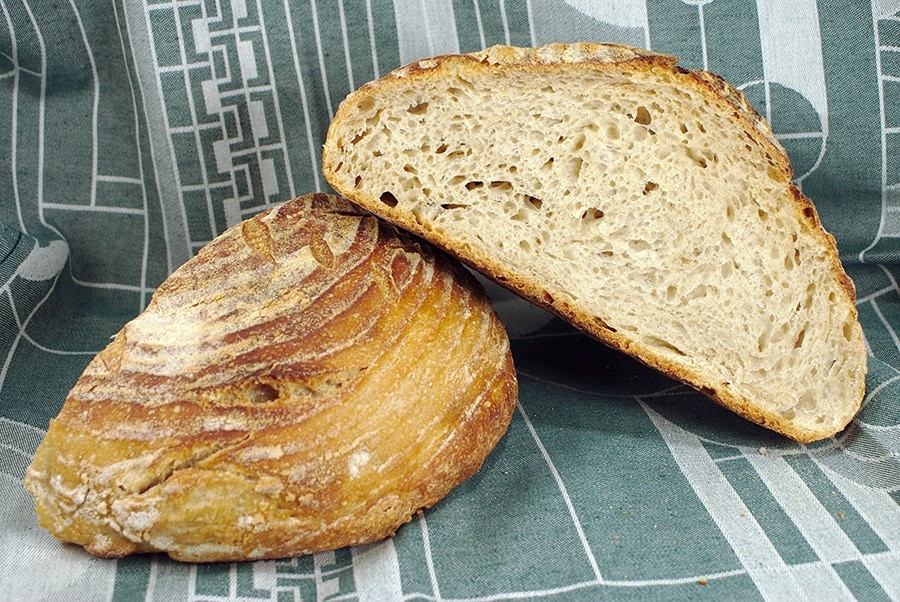
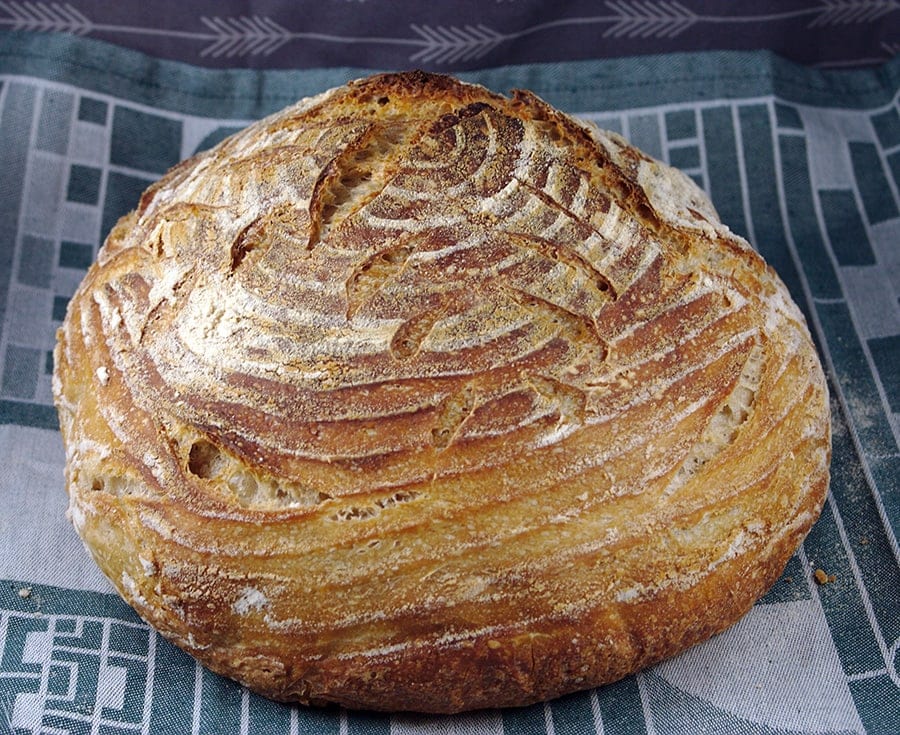
It came out beautifully, one of the nicest looking loaves I’ve ever made. It tasted pretty great too. The texture was decent, the dough didn’t rise as much as I would have liked, so I’ll need to experiment. Despite that, it wasn’t really dense or stodgy, just not quite as loos and fluffy as I’d like. I can’t wait to do more experiments with different variations, and to work on my scoring skills.