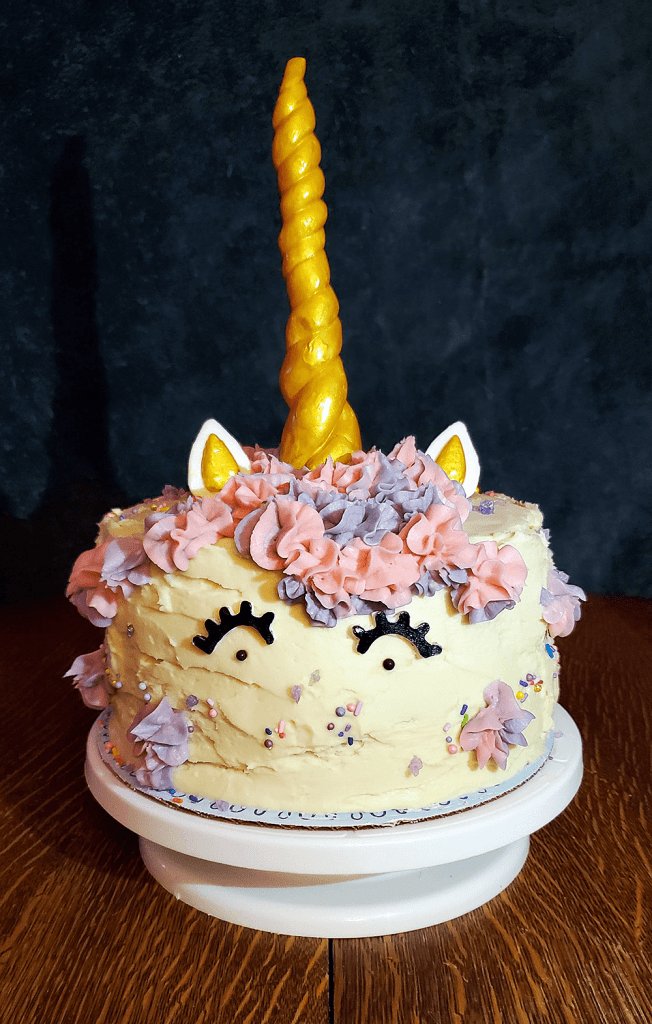
Unicorn Cake for my Wife's Birthday
I finally made a unicorn cake! If you spend any time reading baking blogs (which you obviously do), or watching baking shows, you know it’s been a huge trend for a while now. Well, it was time to make a birthday cake for my unicorn loving wife, so, the choice was clear! I didn’t tell […]