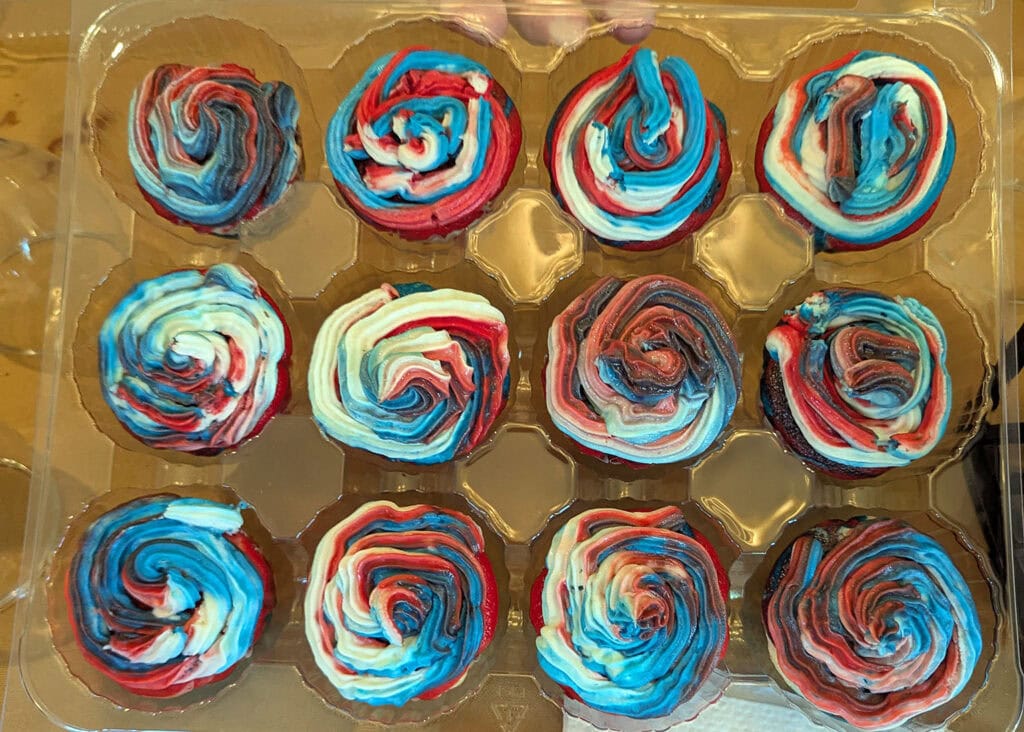
Fourth Of July Cupcakes
We were invited to a family BBQ this weekend, so I decided to make some Fourth of July cupcakes. They are just plain vanilla cupcakes, but I decided to revisit a technique I used when I made my wife’s unicorn birthday cake a few years back and color swirl the frosting and the cake. I […]