Blog

  • Nailed it!

    Nailed it!

    Nailed it! is one of my favorite shows. Being a New York I’ve been a fan of Jacques Torres for many years, long before I actually baked. Every holiday a trip to one of his shops is a must for some awesome seasonal holiday treats. Every time we watch it my wife says “You should go on! You’d win!”.

    Well, a couple of months ago I heard about the ‘Nailed It! At Home Experience‘ which was a thing that Netflix was doing where you could sign up to get an at-home kit to participate in a virtual episode of the show. Of course, I had to do it. I’d like to say it was amazing, but the actual event turned out to be a huge cluster… fudge. So I have no idea what the big zoom event actually was, or who was there. I don’t even want to imagine that I actually missed Jacques showing us how to create the cakes.

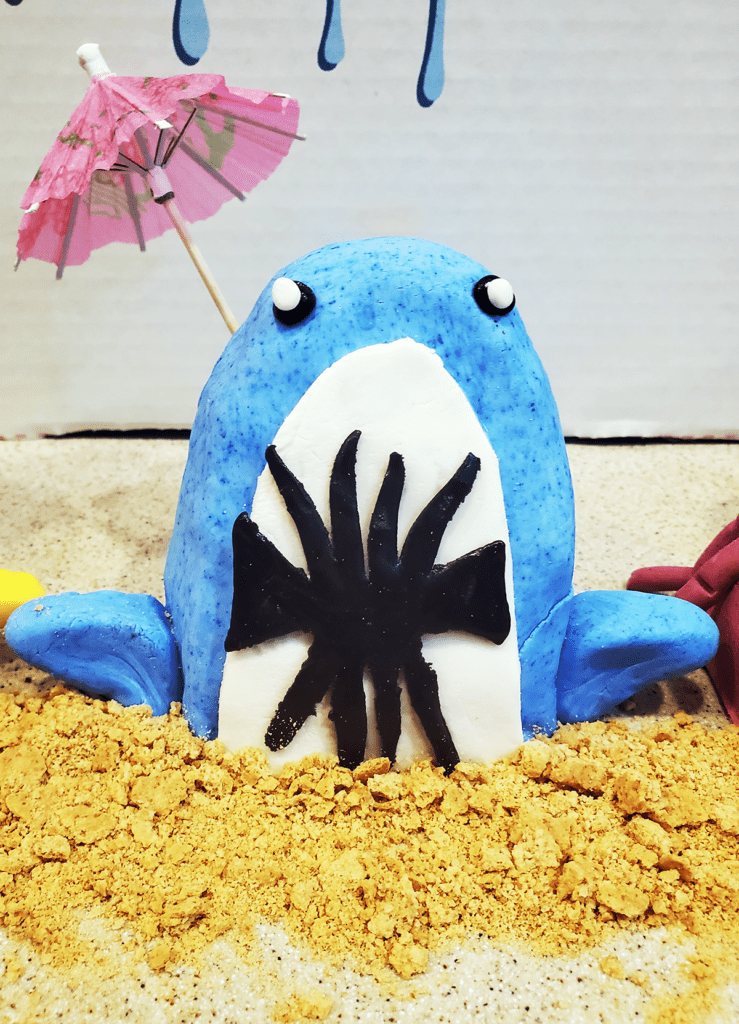
    Whatever the actual event was, doing the bake was still super fun! It was a beach theme, with some cute sea creatures to create. So, with no further adieu, I think you’ll find, I – wait for it – NAILED IT!

    Beach Buddies
    Beach Buddies

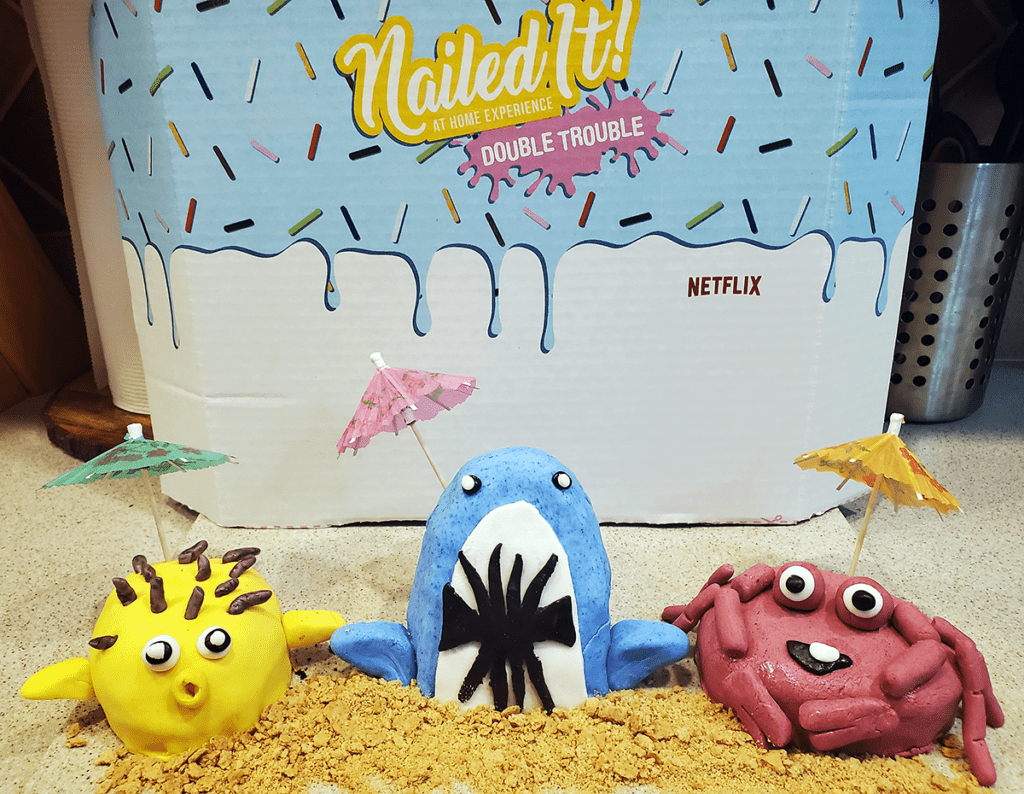
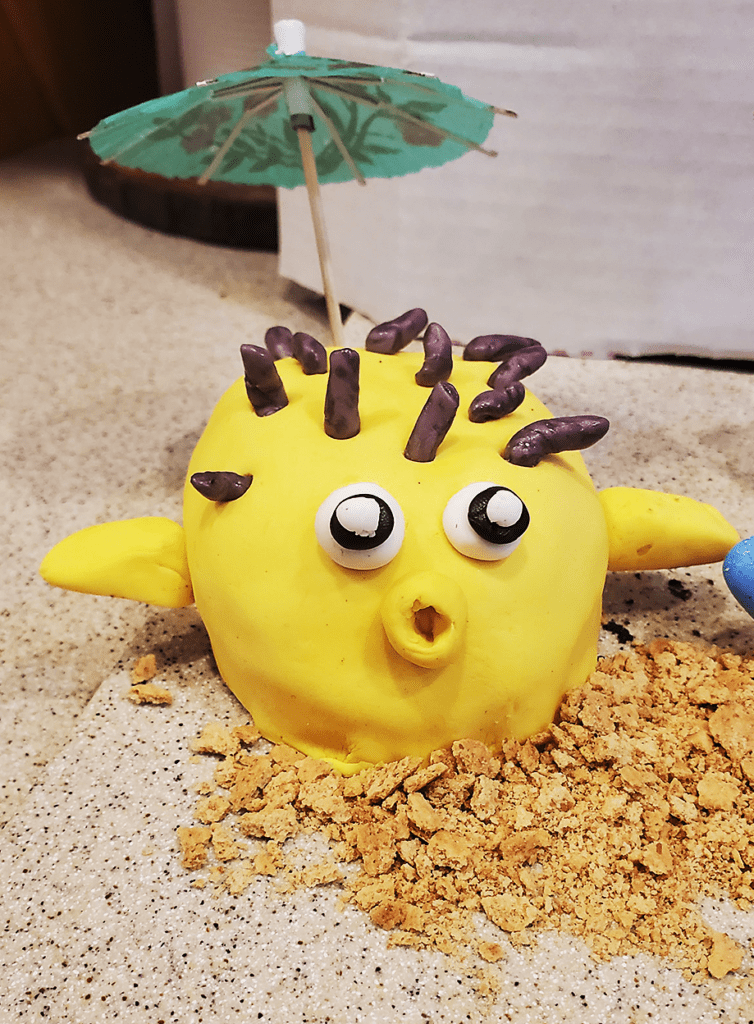
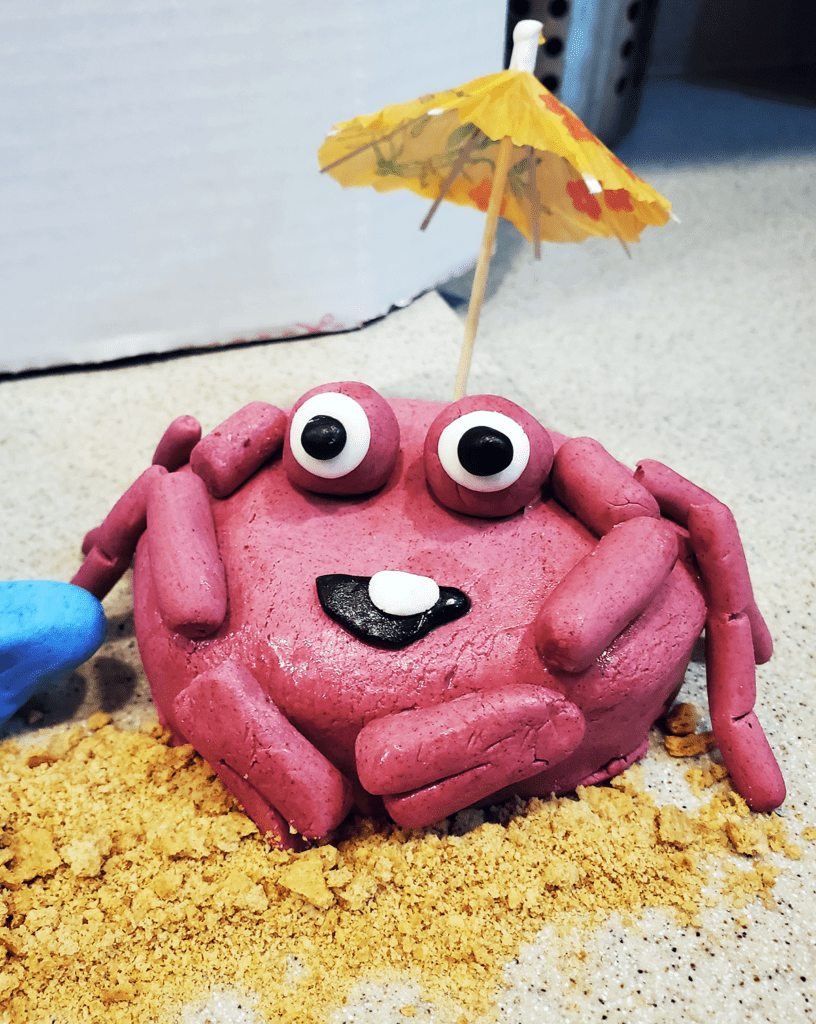
    The scene as a whole came out really good, and I’m pretty happy with it. The puffer fish and the crab are super cute, look!

    Puffer Fish Cake
    Puffer Fish Cake
    Crab!
    Crab!

    The shark.. well, I think this guy is definitely channeling “Left Shark”. What ever happened to that guy? Apparently he became a cake model.

    Left Shark?
    Left Shark?
  • Red White & Blue Pavlova

    Red White & Blue Pavlova

    I wanted to throw together something quick for 4th of July. I happened to have fresh blueberries and strawberries in the fridge, so all I needed was to pair them with something white. Pavlova was the perfect solution. No recipe, because one of the nice things about pavlova is that there basically is no recipe. You make a circle of meringue, you make some fresh whipped cream.. and you go nuts with it. It came out pretty darn good if I do say so myself. Definitely make fresh whipped cream, don’t wimp out and use a can.

    Red White and Blue Pavlova
    Red White and Blue Pavlova
  • Strawberry Rhubarb Cheesecake

    Strawberry Rhubarb Cheesecake

    Strawberry rhubarb cheesecake for Father’s Day! My in-laws, and especially my father-in-law, are big fans of cheesecake, so it was the natural choice for Father’s Day. The big question was the flavor. That ended up being a no-brainer as well. The week of father’s day we got both rhubarb and strawberries in our CSA share, so I knew I had to use them. Rather than try to get super fancy and flavor the actual cheesecake, I decided to go more traditional and put a layer of compote on top.

    I made (way more than I needed) compote following this recipe from Laylita’s Recipes. It’s basically equal parts strawberries and rhubarb, with some sugar and water and a bit of lemon juice, that you cook down for a while. I ended up adding a small amount of cornstarch because it wasn’t getting as thick as I wanted naturally. I wanted to make sure it would stand as a layer on top of the cheesecake and not make a runny mess. I want strawberry rhubarb cheesecake, not strawberry rhubarb soup.

    With the compote ready I moved on to the cheesecake. I have tried all of, no-bake, water bath, and just plain baked before, and I like just plain baked the best. I’m sure you can make great cheesecake all these ways, but I’ve had bad luck with the others.

    My go-to recipe (after my previous mixed results) is Sugar Spun Run’s “The Best Cheesecake Recipe”. So far at least in my experience, it really is the best cheesecake recipe.

    Strawberry Rhubarb Cheesecake
    Ta-da!

    Putting it Together

    To put it all together I made some fresh whipped cream and piped a border. I then poured in some compote and spread it out. Between the whipped cream border and the thickness of the compote, I had zero running issues. To top it off I made a (barely artistic) center flourish with some more whipped cream and slices of strawberry.

    Strawberry Rhubarb Cheesecake
    A View After Cutting
    Strawberry Rhubarb Cheesecake
    A Slice Ready To Eat
  • Banana Cream Pie for Pi Day!

    Banana Cream Pie for Pi Day!

    When my wife requested Banana Cream Pie for Pi Day, I was dubious. I didn’t really know what it was. Sure I’ve heard of it, When but I don’t think I’d ever actually had it. And, banana.. pie.. it just sounds weird. After making this pie, I was sold.

    Look at that banana cream pie!

    Making the Pie

    For the actual pie recipe, I turned to one of my go-to’s and basically followed Sally’s recipe. The only real differences you can pretty clearly see. I didn’t cover the whole top with banana slices. I decided to brûlée some bananas for decoration and just add a few plain slices.

    When I went to torch the bananas I discovered my kitchen torch wasn’t working. Luckily I had a torch lighter, and made it work, although it was a pain. Basically had to do 1 slice, and then let the lighter cool down for a few minutes before doing the next one. (I’ve bought a new torch) I also melted some chocolate and made chocolate twirls, which were a really nice effect in real life but don’t come through great in the photos because they are so dark. I also spent a long time piping stars on the whole top of the pie, with homemade whipped cream.

    Banana Cream Pie
    Banana Cream Pie Ready to Cut

    In the above photo you can see a few of my baking related Christmas presents in use, I believe for the first time. I asked for a nice cake service set, and some nice flour sack towels. I just said ‘something that will look good in photos’ and she picked out this awesome set from Inox Artisans that I really like. The towels come from an etsy store called Fiber & Mud and are are hand-dyed indigo.

    I swear I took pictures of the pie cut, and of a slice, but for the life of me I can’t find any. The pie was actually eaten, you just have to take my word for it. And it was good. Here’s another picture of the whole pie instead.

    Banana Cream Pie
    Banana Cream Pie

  • Speculoos Hamentaschen

    Speculoos Hamentaschen

    Speculoos Hamentaschen for Purim!

    I hadn’t baked for almost a month because I came down with covid19. The good news is, I recovered, and I’m fine now. Feeling better happened to correspond to the time of Purim, so this was a perfect bake to get back into things.

    Hamentaschen
    Hamentaschen

    Now in my mind, there is pretty much one best type of hamentaschen, and all the rest pale in comparison. Poppyseed, or mohn in Yiddish. These are what I make most years. This year I didn’t have a chance to go to the store and get the filling (see covid19+ above). So I got creative this year, I had a jar of Trader Joe’s speculoos in the cupboard, and I wondered if I could use that. Well, sure enough, I found a recipe over at myjewishlearning.com.

    Speculoos Hamantaschen

    Traditional hamentaschen with a non traditional speculoos filling.

    • ½ cup unsalted butter
    • ¾ cup granulated sugar
    • 1 egg
    • 1 Tbsp milk
    • 1 tsp vanilla extract
    • 1 ¼ cups all purpose flour
    • ¼ tsp baking powder
    • ¼ tsp salt

    Hamentaschen

    1. Beat the butter and sugar together until smooth in stand mixer with paddle attachement.

      Add egg, milk and vanilla until mixed thoroughly.

    2. Sift together the flour, baking powder and salt in a separate bowl.

      Add dry mixture to wet mixture until incorporated.

    3. Chill dough for 2 hours

    4. Dust work surface with powdered sugar. Roll out dough to 1/4" thick (or your preference but I find thinner hard to work with).

      Cut out ~3inch circles, you can use a circular cutter, or I just used a tin can with both sides removed.

    5. Dab about a teaspoon if speculoos into the center of each circle.

    6. Eggwash the rest of the circle around the filling, this helps it stick together.

    7. Fold into triangles.

    8. Preheat oven to 400F while chilling the assembled hamentaschen in the fridge for about 15 minutes.

    9. Bake for 8 minutes or until they start to get golden brown.

    Decorating

    1. This is of course optional, but I finished with some melted chocalte drizzled on top, and pearl sugar sprinkled onto that.

    Hamentaschen
    Hamentaschen

    They came out great! A bit on the cakey side.. I tried making thinner ones and had a lot of trouble getting them to stay together. Next batch I’ll do 1/4″ again, but add a couple of minutes to the baking time to get them to crisp up a bit more.