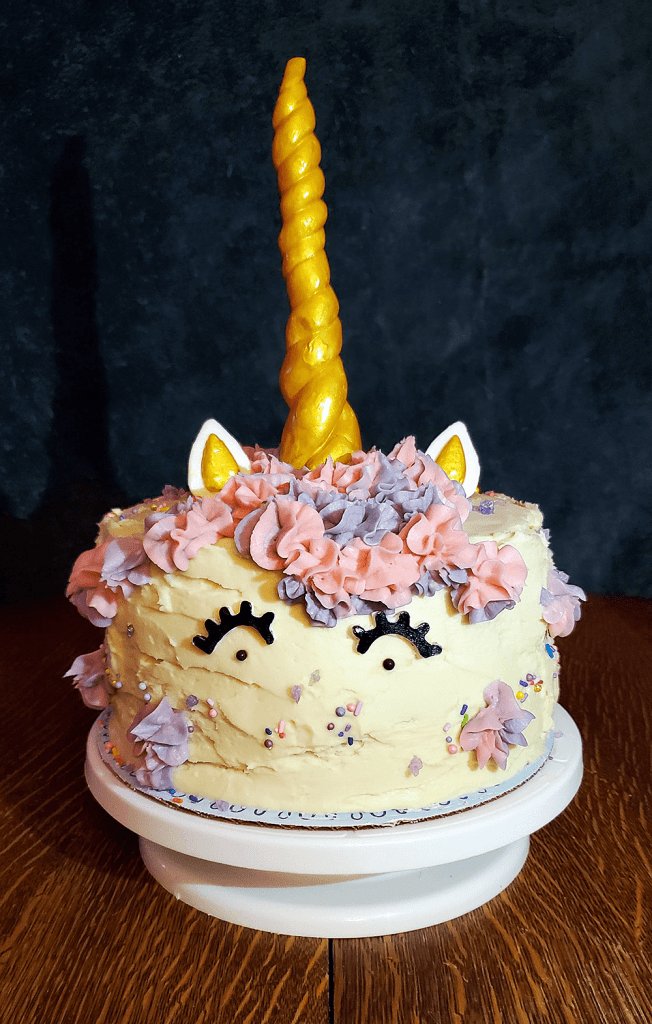
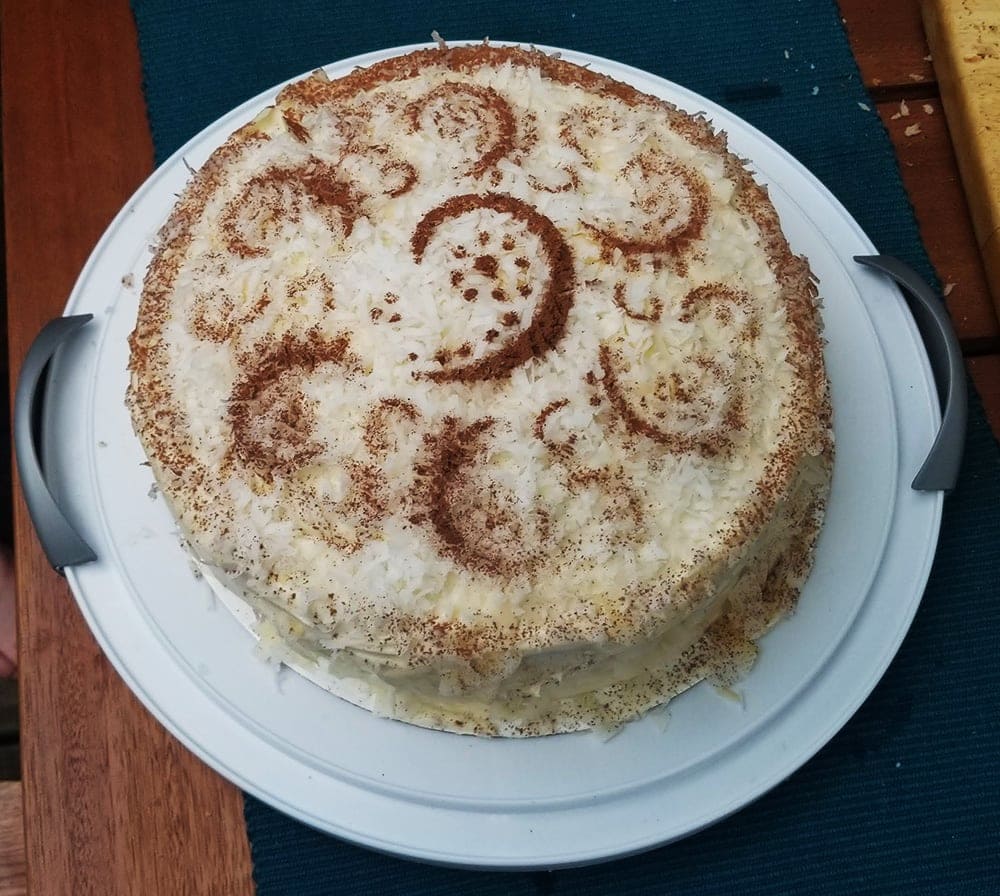
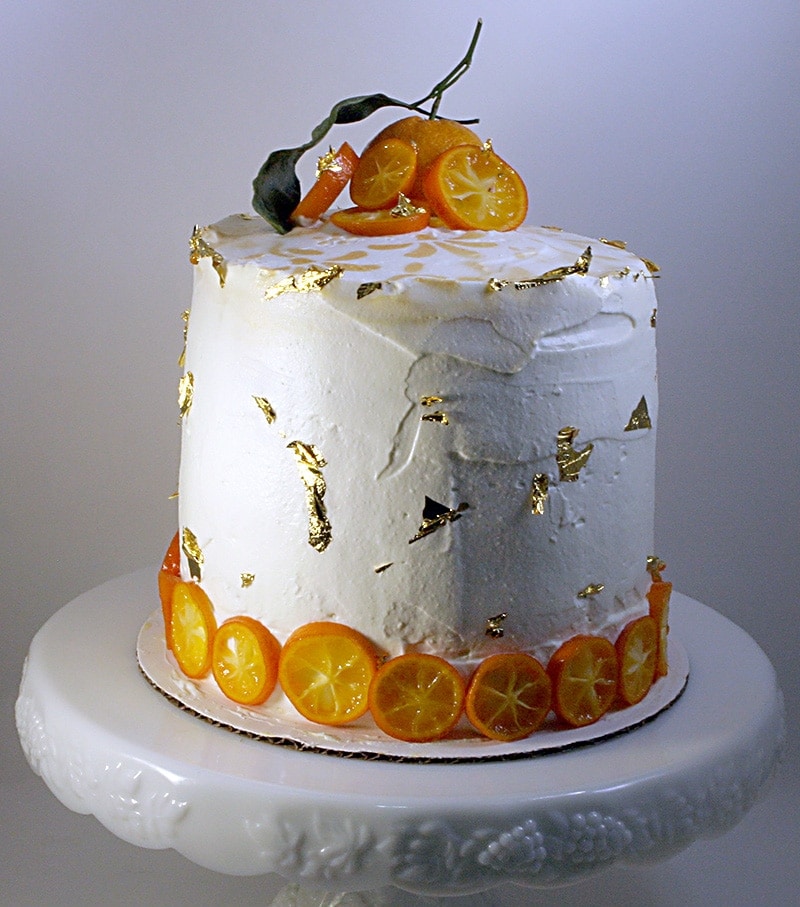
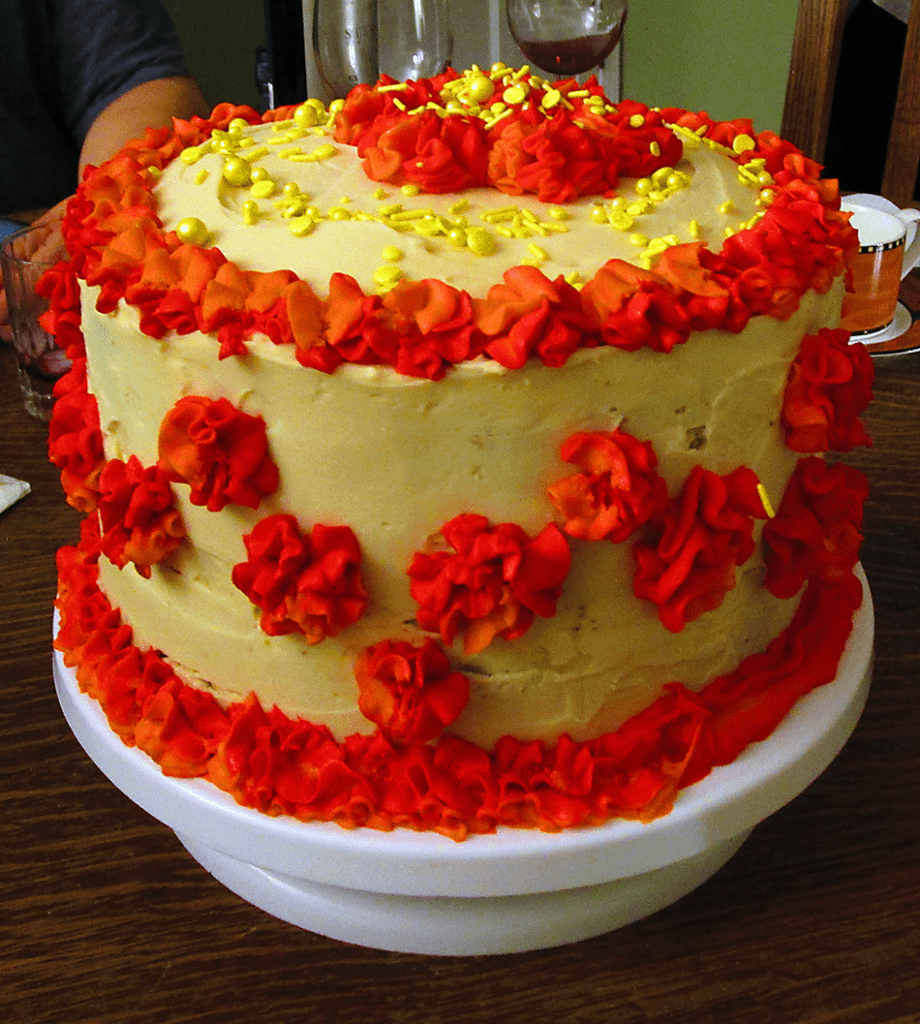
Tag: cake

  • Birthdaypalooza

    Birthdaypalooza

    The end of October and beginning of November mark three birthdays in the household. Both of my in-laws have birthdays just a few days apart, and it’s also our dog’s birthday a few days before that. Last weekend we celebrated all three, and I also had to bake a chocolate babka for my GBBO bake along, so I did a lot of baking. The humans requested something with fall flavors like an apple or carrot cake. They both sounded really good, so, I figured, why not both?

    The Human’s Cake

    I ended up making a layer cake that had a layer of carrot cake sandwiched between two layers of apple spice cake. I figured all the flavors should go together well, and they did. It was a big hit. I wish I had more and better pictures, but while I baked the cakes and prepared the buttercream and frosting at home, I assembled and decorated at my in-law’s house, so I didn’t have my DSLR, lights, etc., to get good photos. What I present here are cellphone snaps, which sadly don’t really do the cake justice. I assure you it was beautiful.

    The Cake All Assembled

    For the carrot cake layer, I used this recipe from Sally’s Baking Addiction. I also used the cream cheese frosting recipe from there for the frosting between the layers of the cake.

    For the apple spice layers, I used Preppy Kitchen’s Apple Spice Cake recipe. I just tweaked the amounts a bit to make 2 9″ layers. I was lucky to have both carrots and apples from our CSA membership which meant they were super fresh (like in the ground and on the tree the day before I used them fresh) and super good.

    Putting it Together

    For finishing I made a plain buttercream that I used to do a rustic crumb coat, and another batch of buttercream that I did with a mix of orange and red fall colors for some freehand decorating. It’s hard to see the dual color of the decorations in the picture but it was pretty striking in real life. I sprinkled on some yellow sprinkles for a final touch.

    The Cake Cut

    All in all this was a 3 layer 9″ cake.. it was HUGE. The photo above is what was left after 5 people already each had a slice. Cake for weeks!

    The Dog’s Cake

    The pup’s cake was a much simpler affair, but no less of a hit (let’s be honest, she doesn’t care what it looks like). I followed Love from the Kitchen’s Spoiled Dog Cake recipe. The only slight change I made was using whole wheat flour because it’s a little better for dog’s than regular AP.

    Luna Was Three!

  • Unicorn Cake for my Wife's Birthday

    Unicorn Cake for my Wife's Birthday

    I finally made a unicorn cake! If you spend any time reading baking blogs (which you obviously do), or watching baking shows, you know it’s been a huge trend for a while now. Well, it was time to make a birthday cake for my unicorn loving wife, so, the choice was clear!

    I didn’t tell my wife what I was making, but I asked for flavor preferences. She wanted chocolate cake and raspberry so I decided on layers of chocolate sponge with raspberry between the layers. I also decided on buttercream, not fondant, to cover the cake. I may or may not regret this. Fondant sucks, but I suck with buttercream and there ended up being SO much to cover the cake decently that it was super heavy.

    The cake and the Filling

    For the filling (only) I used the recipe from Life Love and Sugar’s Raspberry Chocolate Layer cake..

    Raspberry Cake Filling

    From https://www.lifeloveandsugar.com

    • 1/4 cup Sugar
    • 1 tbsp Cornstarch
    • 2 tsp Water
    • 2 cups Raspberries (I used frozen ones (that I thawed))
    1. Add everything but the berries to a saucepan and heat until it's all well combined

      Add the raspberries, stir around a bit to get them well coated.

      Once the berries get soft and are creating juice, use a spatula to mash them up well.

      Cook about 5 more minutes to allow the mixture the thicken up a bit.

    For the sponge, I followed the King Arthur Simple and Rich Chocolate Cake recipe with one small change, well, 2 really. 1) I multiplied everything by 1.5 since I wanted 3 layers and this recipe only made 2. 2) I added some real melted chocolate instead of just cocoa powder. It’s something I picked up from Great British Bake-Off where Paul Hollywood always says never use just cocoa powder and no real chocolate. For the chocolate to melt, I don’t buy a candy bar, and I don’t use that gross baker’s stuff. Jacques Torres baking chocolate is my go-to.

    Once I had filling and layers of cake, I needed buttercream. I like the recipes/instructions from Dulcia Bakery because she explains how to vary the consistency. I made a batch of medium and a batch of stiff. The medium was used for the constructions and covering. I laid a bead around the outside edge of each layer to retain the raspberry filling. Then I used it to do a crumb coat, and after about 20 minutes in the fridge, used the rest to do a smooth coat. The thick consistency was used to do the decorations, which I’ll talk about next.

    The Decorations

    Obviously the wow factor on a unicorn cake is the horn first and foremost, along with the ears and eyes/eyelashes. I bought this mold kit on Amazon that has a horn mold, and ear mold, and an eyelash mold. The horn mold ended up being way to small, but I used the ear and eyelash molds to pretty good effect. All I needed to do was soften up some fondant by rolling it in my hands, then put it in the molds and let it set.

    For the horn, I took two pieces of fondant and rolled them out into tapered carrot shapes. Then I took a skewer and just twisted them together around it. I then painted the whole thing gold (of course!) with some gold luster dust. I also painted the inside of the ear with gold. The eyelashes I painted black.

    The final element was the mane. I took my stiff buttercream and split it in half. One half I colored pink, the other purple. To achieve the multi color effect I followed a tip I saw in some tutorial (can’t remember which :/). The tip was, lay out a long strip of cling film, and with a spatula make two side by side lines of buttercream on it with the two colors. Then you twist this up into a tube, and squeeze it out into your piping bag. It worked like a charm. I’ve tried the more traditional, load the bag with two colors side by side approach before, and it never worked as well.

    Finishing Touches

    The very final touch was some artisanal sprinkles (who knew?!) that I got from Delta Sprinkles on etsy. It all came together beautifully. If I had it to do over I’d probably make two changes. First, I used 9″ rounds because that’s what I had on hand. It was too big, I would use 8″ or maybe even 6″ or 7″ next time. Second, I was too heavy handed on the buttercream, making the cake super sweet. I attribute t his mostly to me being bad at getting a nice smooth finish and needing to keep slathering on more buttercream to fix mistakes.

    All in all, it ended up delicious and beautiful anyway, and my wife was thrilled and very surprised when I revealed it.

  • Father's Day Bakes

    Father's Day Bakes

    I did a couple of father’s day bakes. My dad is no longer with us, but my father in law had a request – a coconut cake. I also baked a bread because I never go to the inlaws without a bread, they always love it.

    First up, the cake.. I wanted to make something a little ‘extra’ than just your generic coconut cake. I’d been experimenting with pandan recently, mostly in cocktails, but it pairs well with coconut, so I figured what the heck?

    The Cake

    I followed a standard coconut cake with cream cheese frosting recipe that I wont bother to detail. The pandan was incorporated by using pandan simple syrup I made (simply infuse pandan leaves in simple syrup for 12 hours or so). Once I had the two layers of cake baked I sprinkled a generous amount of the simple syrup on top of them. This method is often recommended to keep cake moist anyway, and was the perfect way to also add the pandan.

    Looks good to me

    Once I had the cake together and frosted I covered generously with shredded coconut and ‘coconut chips’ which I found at Trader Joe’s. They added a nice a crunch. For the decoration on top I used a stencil I had and sprinkled cocoa powder on it. I had bought a ‘happy fathers day’ stencil but it turned out to be much smaller than I realized, so I used the one I already had instead.

    A Slice
    A Slice

    The bread..

    The bread I made was just a standard overnight white from Flour Water Salt Yeast, but it came out looking particularly nice, and everyone loved it.

    The Loaf
    Sliced

    The bread went super fast, I should have brought two, and the cake was also a hit. All in all it made for a great father’s day with family.

  • Easter Surprise Lemon Bundt Cake

    Easter Surprise Lemon Bundt Cake

    For Easter I baked a lemon bundt cake with a rainbow surprise. I used a recipe I found on the blog The Pudge Factor. They in turn adapted it from the King Arthur Flour Lemon Bliss Cake recipe. It took me some time to decide on something good to make for Easter. My research included Mary Berry’s Easter special. I strongly considered making her Simnel Cake, but I wasn’t really convinced everyone would like it. Marzipan is one of divisive those things like licorice that people love or hate.

    My wife suggested a bundt cake so that I could show off the fancy new bundt pan I had gotten for Christmas. So I searched a bit and settled on this lemon cake. I thought the color swirl effect would make it a showstopper, and it did.

    Easter Surprise Lemon Bundt Cake

    A lemon bundt cake with a rainbow surprise inside.

    Cake

    • 8 oz Unsalted Butter (room temperature)
    • 2 cups Granulated Sugar
    • 4 Large Eggs
    • 1 tsp Baking Powder
    • 1 tsp Salt
    • 3 cups All Purpose Flour
    • 1 cup Whole Milk
    • Zest of 2 Lemons
    • Assorted Gel Food Colorings

    Lemon Simple Syrup

    • 1/3 cup Lemon Juice
    • 3/4 cup Granulated Sugar

    Lemon Glaze

    • 1 1/2 Cups Confectioners' Sugar
    • 3 Tbsp Lemon Juice

    Cake

    1. Preheat oven to 350F

    2. Beat together butter and sugar until fluffy.

    3. Add eggs one at a time, beating well after each.

    4. Add salt and baking powder and beat until combined.

    5. Add the flour and the milk in 3 batches. Alternate 1 cup flour, 1/3 cup milk, 3 times.

    6. Add The lemon zest and mix until all combined.

    7. Split the batter into 3 or 4 equal parts, depending how many colors you plan to use. Mix a different color into each portion until you get the color you want.

    8. Grease the bundt pan. Add about half of each color of cake batter to make the first layer of batter. Use a spatula or some other tool to swirl the colors around a bit.

    9. Add the rest of the batter(s) to make a second layer. Swill this one as well. Tap the pan a few times to even it out and remove any bubbles.

    10. Bake the cake for 50-60 minutes (until a toothpick comes out cleanly).

    11. While the cake bakes, make the simple syrup. Stir together the sugar and lemon juice in a small saucepan over low heat, until the syrup has dissolved.

    12. Remove the cake when done and let it rest/cool for 5 minutes. After 5 minutes brush the lemon simple syrup all over the cake. Use all of it, this gives the cake most of it’s flavor.

    13. Let the cake cool completely.

    Glaze

    1. Mix the confectioners’ sugar and lemon juice together. You want the mixture so thick that it will just pour. Add more sugar if needed to get the consistency you want.

    2. Drizzle the glaze over the cake. Decorate with anything else you want. I added some small sugar flowers that added a nice touch.

    The swirl came out pretty good. It was uneven of course and looked better in some slices than others.

    It came out really nice, but was kind of tale of two cakes. The top, where the simple had soaked in, with the addition of the glaze, was really tasty and really lemony. As you got further down/in to the cake, it definitely lacked some punch. If I were to make it again, I’d probably add more lemon zest to the cake batter. I’d also use a skewer to make holes in the cake, to allow the syrup to penetrate the cake better. Nonetheless , I got a lot of compliments on the cake, so it was a success.

  • Satsuma Curd Dulce De Leche Cake

    Satsuma Curd Dulce De Leche Cake

    Last week was my wife’s birthday, so a special cake was called for. We had been to Argentina a few months back, and had a jar of genuine dulce de leche we had yet to use, so she requested that figure in, and she wanted it light (oops) and a bit fruity.

    After a bit of research, I settled on a recipe I found HERE. Sort of. In making a test batch I realized the recipe was incomplete. In one step it said ‘add the sugar’, but there wasn’t any sugar listed in ingredients. There had been ‘glucose’ (for which I substituted light corn syrup) so I assumed it was that. But then I got to a later step, and you guessed it, needed the glucose. So clearly something was wrong. I referred to the Bouchon Bakery cookbook that the recipe was inspired from, and found the Madeleine Cake recipe that was clearly the inspiration. It called for 180g of sugar, so I used that much..

    But then, the cake I made ended up not rising at all, I had like a 1/4 inch cake. Even at 6 layers, that was clearly not correct. So I ended up tossing out the blog’s cake recipe and using the the straight Bouchon Bakery recipe, simply substituting satsuma juice for the lemon juice in the book’s recipe. The book recipe called for less juice, more flour, and it rose and fluffed up just as I’d hoped..

    I made Six Rounds Cut From the Sheet Cake

    A few days prior, I made some candied kumquats to be used as decoration on the cake. Basically, sliced up some kumquats and put them in a mason jar filled with simple syrup. While the cake rounds cooled in the fridge I spread out the slices on some paper towels to dry a bit.

    Candied Kumquat Slices

    I frosted layers of the cake with alternating dulce de leche and satsuma curd, until I had a cake 6 layers high.

    The I used the remaining curd for a crumb coat around the whole cake. After letting that cool for a bit in the fridge I covered the whole cake in home made whipped cream. The original recipe called for butter cream but my wife wanted a lighter and less sweet cake.

    While the covered cake cooled in the fridge I did some test mockups of decorations using paper towels for stand in cake tops.

    Then I decorated. I used a stencil and edible glitter spray to paint a pattern on the top. Placed a whole satsuma surrounded by some candied kumquat slices, and used some leaves from the fruit to accent it. Lastly a bunch of edible gold leaf (that I had never used before and was a pain to work with) spread around.

    The rest of the cake was kept pretty simple, a ring of kumquat slices around the bottom, and some edible gold leaf placed haphazardly here and there.

    Lastly, since it was a birthday cake, we needed some candles for the singing of Happy Birthday.

    Finally, after about 3 days work, it was ready to slice and serve. Voila!

    It was a huge hit. If I were to make it again I’d be less afraid of the dulce to delche. I didn’t want to use too much and overpower everything, but actually more would have been nice. Other than that I was quite happy with the results, and so was my wife.

    Satsuma Curd Dulce de Leche Cake

    Cake

    • 188 g All-purpose Flour
    • 1 1/2 tsp Baking Powder
    • 4 Eggs
    • 180 g Granulated Sugar
    • 112 g Glucose ((I used light corn syrup))
    • 75 g Unsalted Butter
    • 38 g Whole Milk
    • 75 g Satsuma Juice ((or regular mandarins if you cant get satsuma))

    Candied Kumquats

    • 2 parts Sliced Kumquats ((deseed))
    • 3 parts Sugar
    • 3 parts Water

    Satsuma Curd

    • 150 g Eggs
    • 75 g Granulated Sugar
    • 125 g Fresh Satsuma Juice
    • 25 g Fresh Lemon Juice
    • 195 g Unsalted Butter
    • 2 g Gelatin Sheets

    Whipped Cream

    • 2 cups Whipping Cream
    • 1 cup Confectioner's Sugar

    Candied Kumquats

    1. This was the simplest part of the recipe. Just slice up the kumquats and remove the seeds.

      Mix the water and the sugar and heat until combined fully. Put the kumquats in a mason jar or similar, and pour in the syrup. I made it a couple days in advance and left it in the fridge once cooled.

    Satsuma Curd

    1. This was the hardest part.. First, I had to find satsumas. Found them in the third grocery store I tried (Trader Joe’s). Then I had to get some gelatin sheets, which I had never used before. Got those off Amazon.

      First step, cut the gelatin sheets in ~1 inch strips and place them in cold water to start to soften.

    2. Combine the eggs, sugar, and juices in either a double boiler, or a glass bowl set over a pot of simmering water. Cook, whisking constantly, until it has thickened and a thermometer in it reads 82C.

    3. Let it cool for about a minute, while whisking. Squeeze the water out of the softened gelatin and add it to the curd, whisking for about another minute until it is dissolved. Strain the curd through a very fine strainer.

    4. Use an immersion blender on low to mix in all the butter slowly, a few pieces at a time. Once all the butter is incorporated the curd is ready. You can use it immediately or refrigerate. I made it the day before and put a sheet of plastic rap on the surface of the curd to stop it from forming a skin.

    The Cake

    1. Instead of baking rounds, bake a sheet cake and cut rounds with a 6 inch cutter. The recipe in the Bouchon Bakery book fills a quarter sheet pan. Since I wanted 6 layers I made 2 batches and filled 2 1/4 sheet pans. I could only get 3 rounds per sheet with the cutter I had.

      The cake is pretty straightforward..

    2. Sift flour and baking powder into a medium bowl.

      Place eggs and sugar in the bowl of a stand mixer and whisk on low for a minute. Then turn up the speed and mix for 5-10 more minutes until the mixture is thick and pale yellow.

    3. Place the butter and glucose in a small pan over medium heat. Melt the butter and combine. Remove from the heat and whisk in the milk. Let it cool until it is just warm to the touch.

      Whisk 1/4 of the egg mixture into the glucose mixture, along with the satsuma juice.Add half the dry ingredients into the mixer bowl while whisking. Once combined, add the other half of the dry and allow to mix fully.

      Now pour in 1/4 of the glucose mixture and let it combine. Do this 3 more times until everything is combined in the mixer bowl.

    4. Prepare a 1/4 sheet pan. I sprayed the inside with Pam, put down a sheet of parchment, then sprayed the parchment with Pam. Pour in the batter and even out with a spatula. Cook at 350F for 24 minutes. Once it’s done let it cool on a rack, and then in the fridge for 30 minutes to make it easier to cut into rounds.

    Whipped Cream

    1. Combine the sugar and the cream. Whip.

      That’s why it’s called “whipped cream”.

    Putting it Together

    1. Spread a layer of dulce de leche on the first round. Add another round on top, and spread the curd on that one. Repeat, alternating, until you have 6 layers. Once you have the 6 layers stacked, use the remaining curd to crumbcoat the entire thing, and put it in the fridge.

    2. After it cools about 30 minutes, “frost” the entire thing with whipped cream. Make a ring around the base with the candied kumquats, and go to town decorating as you wish!